Potty training is a hallmark milestone of the toddler years. If you’re feeling overwhelmed by the idea of potty training, you’re in very good company. For many parents and caregivers, this milestone can feel daunting and full of uncertainty. When should we start? How do I know if my child is ready? Where do we begin? How long should it take for my toddler to get the hang of using the potty?
The good news is that there is no one-size-fits-all method for potty training. Different things work for different children and families. Your encouragement, attention, and consistency are what matters most.
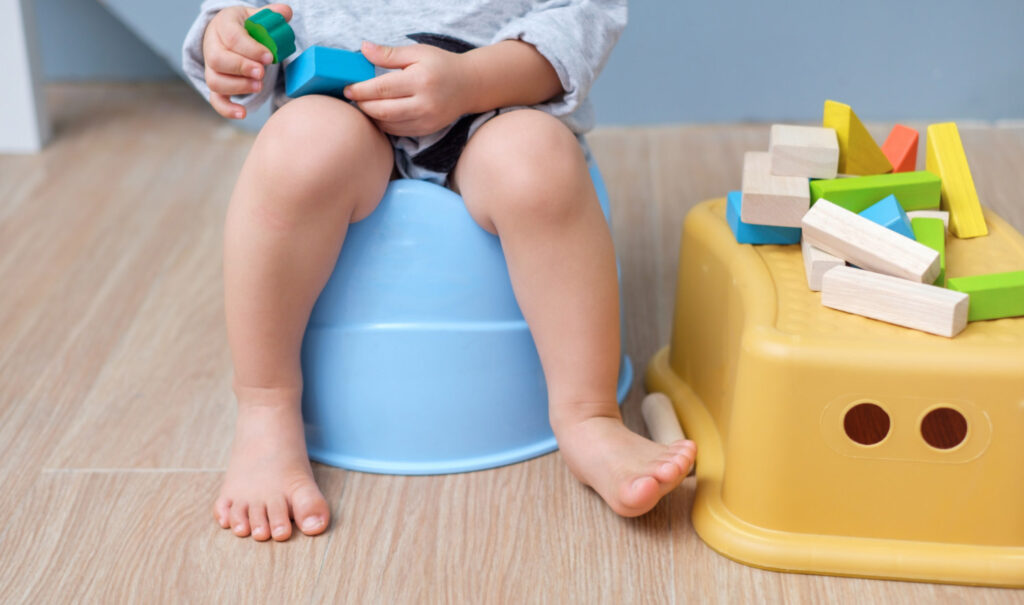
That said, some tips and tricks can help ease the way to toilet training your toddler.
Keep Toilet Training Easy With 7 Helpful Tips
There are many opportunities to start introducing potty training to babies and toddlers. Some children are far more agitated by a dirty diaper than others, and are more motivated to use the toilet. Then there are the kids who don’t seem to mind staying in a wet diaper for a while, and that can involve a little more prompting and patience.
Regardless of which category your child falls into, here are some tips to keep the process as positive, easy, and effective as possible.
1. Find the optimal age window
Most pediatricians agree that children are ready and capable of toilet training between 18 and 36 months. Sometimes, starting too early means it takes longer to achieve an accident-free life; however, waiting too long can mean encountering more resistance to the process. Pay attention to your child’s body language or vocal cues leading up to when they go to the bathroom. This can help you learn more about when to offer the toilet.
2. Recognize readiness signs
Beyond considering your child’s age, looking for signs of physical “readiness” is important when deciding when it’s the right time to start potty training. For example, one of the signs is the ability to pull pants/underwear down and up (at least most of the way). If your child can’t do this yet, that’s a good place to start teaching.
Besides pulling pants up/down (elastic waists are essential for this), other readiness signs include:
- The ability to follow simple instructions and walk to a toilet.
- Noticing and signaling to you when they’ve peed or pooped in their diaper
- An ability to stay dry for two hours at a time.
Your child doesn’t need to show every sign before starting potty training, but the more signs they do show, the smoother and more effective the process is likely to be. Many of these are skills that gradually need to be taught in order for kids to eventually master on their own so offer lots of opportunities to practice.
3. Address any constipation issues
If your child is prone to constipation, use your patient portal to notify your pediatrician or schedule a telehealth appointment. Constipation can stymie potty training because it causes more discomfort and straining on the training toilet or seat.
A high-fiber diet, rich in seasonal fruits, veggies, and whole grains, is the first step in keeping stools soft and easy to pass. If that’s not doing the trick, prunes or prune juice can help. Finally, we can discuss safe stool softeners with you, which should be used consistently until your child is fully potty trained.
4. Keep the process as positive as possible
We get it! When your child is two to three years old, you’re tired of changing diapers and accidents are a pain to clean up. However, patience and positivity are essential to prevent your children from feeling embarrassment around their bodies and their natural functions.
Things you can do to keep the learning positive and productive:
- Keep a revolving stash of fun books and toys by the training toilet, or sing their favorite songs so a little fun is mixed into the process.
- If your child is motivated by rewards, you can create a sticker chart and let them put a sticker on a square every time they use the toilet, offering a small prize (which can be very simple) after a certain number of squares are filled.
- Keep things lighthearted.
- Try not to show your agitation, frustration, or anger if possible.
That said, if your child is older, it’s okay to have them help you clean up the mess. This can help them understand the natural result of not using the potty.
5. Consistency is essential
Being consistent in when the toilet is offered, and what the process is from start to finish, makes it easier for kids to follow through.
- Be sure parents and other caregivers (daycare, grandparents, etc.) are using similar approaches and words (such as poop, pee, potty). If your child is non-verbal, sign language can be helpful.
- Keeping the toilet in the same place and following a consistent order of actions, such as using the toilet, washing hands, drying hands, and high-fiving, can help kids understand what to expect and increase their odds of success.
- If your child is in daycare, check what type of training seat or toilet they use. Getting the same one for the home can be helpful.
- Having regular bathroom trips that both the adult and child participate in can also help kids avoid accidents (such as upon waking, before leaving and/or after arriving at a new place, after meals, before bed).
6. Read about different approaches
If you’d like more structure or input, there are a few different methods you can read about to decide which one resonates with you.
- Child-Oriented approach (developed by Dr. Brazelton in the 1960s). The child-oriented approach can take slightly longer but focuses on keeping things positive and stress-free for the child.
- The Azrin & Foxx Method (developed in the 1970s). This method is a faster track and more intense approach, but it can also work more efficiently. While the original work recommended using verbal reprimands for accidents, pediatricians largely advise against that part of the method to avoid shame.
- Barton Schmitt Method. Similar to the child-oriented approach, this strategy is not quite as intense as the Azrin & Foxx method. It combines both child- and parent-led techniques.
- “Oh Crap! Potty Training.” This is another, newer method for potty training that focuses on the child and starts with a few days of no diaper or underwear that aims to complete toilet training within about a month.
Reading through these various approaches gives you a full-spectrum perspective on “potty training methodology,” so you can choose a method that works for you and your child.
7. Nighttime potty training
- Depending on the age at which you start toilet training, you may either do night training simultaneously or separately.
- Night training is often not completed until a child is three years old, though some children take longer.
- If your child wakes up dry most mornings, it’s okay to try to have them pee before bed, limit fluids the hour or two before bedtime, and try to night train after daytime toilet training is complete.
- Some parents find it helpful to have a small toilet in the bedroom to make nighttime peeing easier if a child needs it.
- If a child is not able to be night trained after several months of trying, some additional steps and tools may be helpful (such as a bedwetting alarm). This is a good topic to discuss with your child’s pediatrician.
Need some potty training support? Connect with us here at PANW
Remember, PANW is here to support every step of your parenting journey. If potty training isn’t going as well as you wish, or you have specific concerns, our pediatricians and psychologists are available and happy to meet with you to brainstorm solutions.
Schedule a visit so we can listen and determine what may help you make progress with potty training. We promise your diaper-free days will be here before you know it! You don’t need to have it all figured out from day one. Remember that potty training is a process, not a race, and like all aspects of child development, it looks different for every family.